
Guide · Blueprint
How to create an Android icon pack
You designed a set of icons and want people to use them on their phones. For that, the icons have to be inside an Android app that launchers know how to read. That app is your icon pack.
You don’t have to build it from scratch. Blueprint is a free and open source template I made for icon packs. It gives you a complete app, so you can spend your time on the icons instead of the code.
What Blueprint gives you
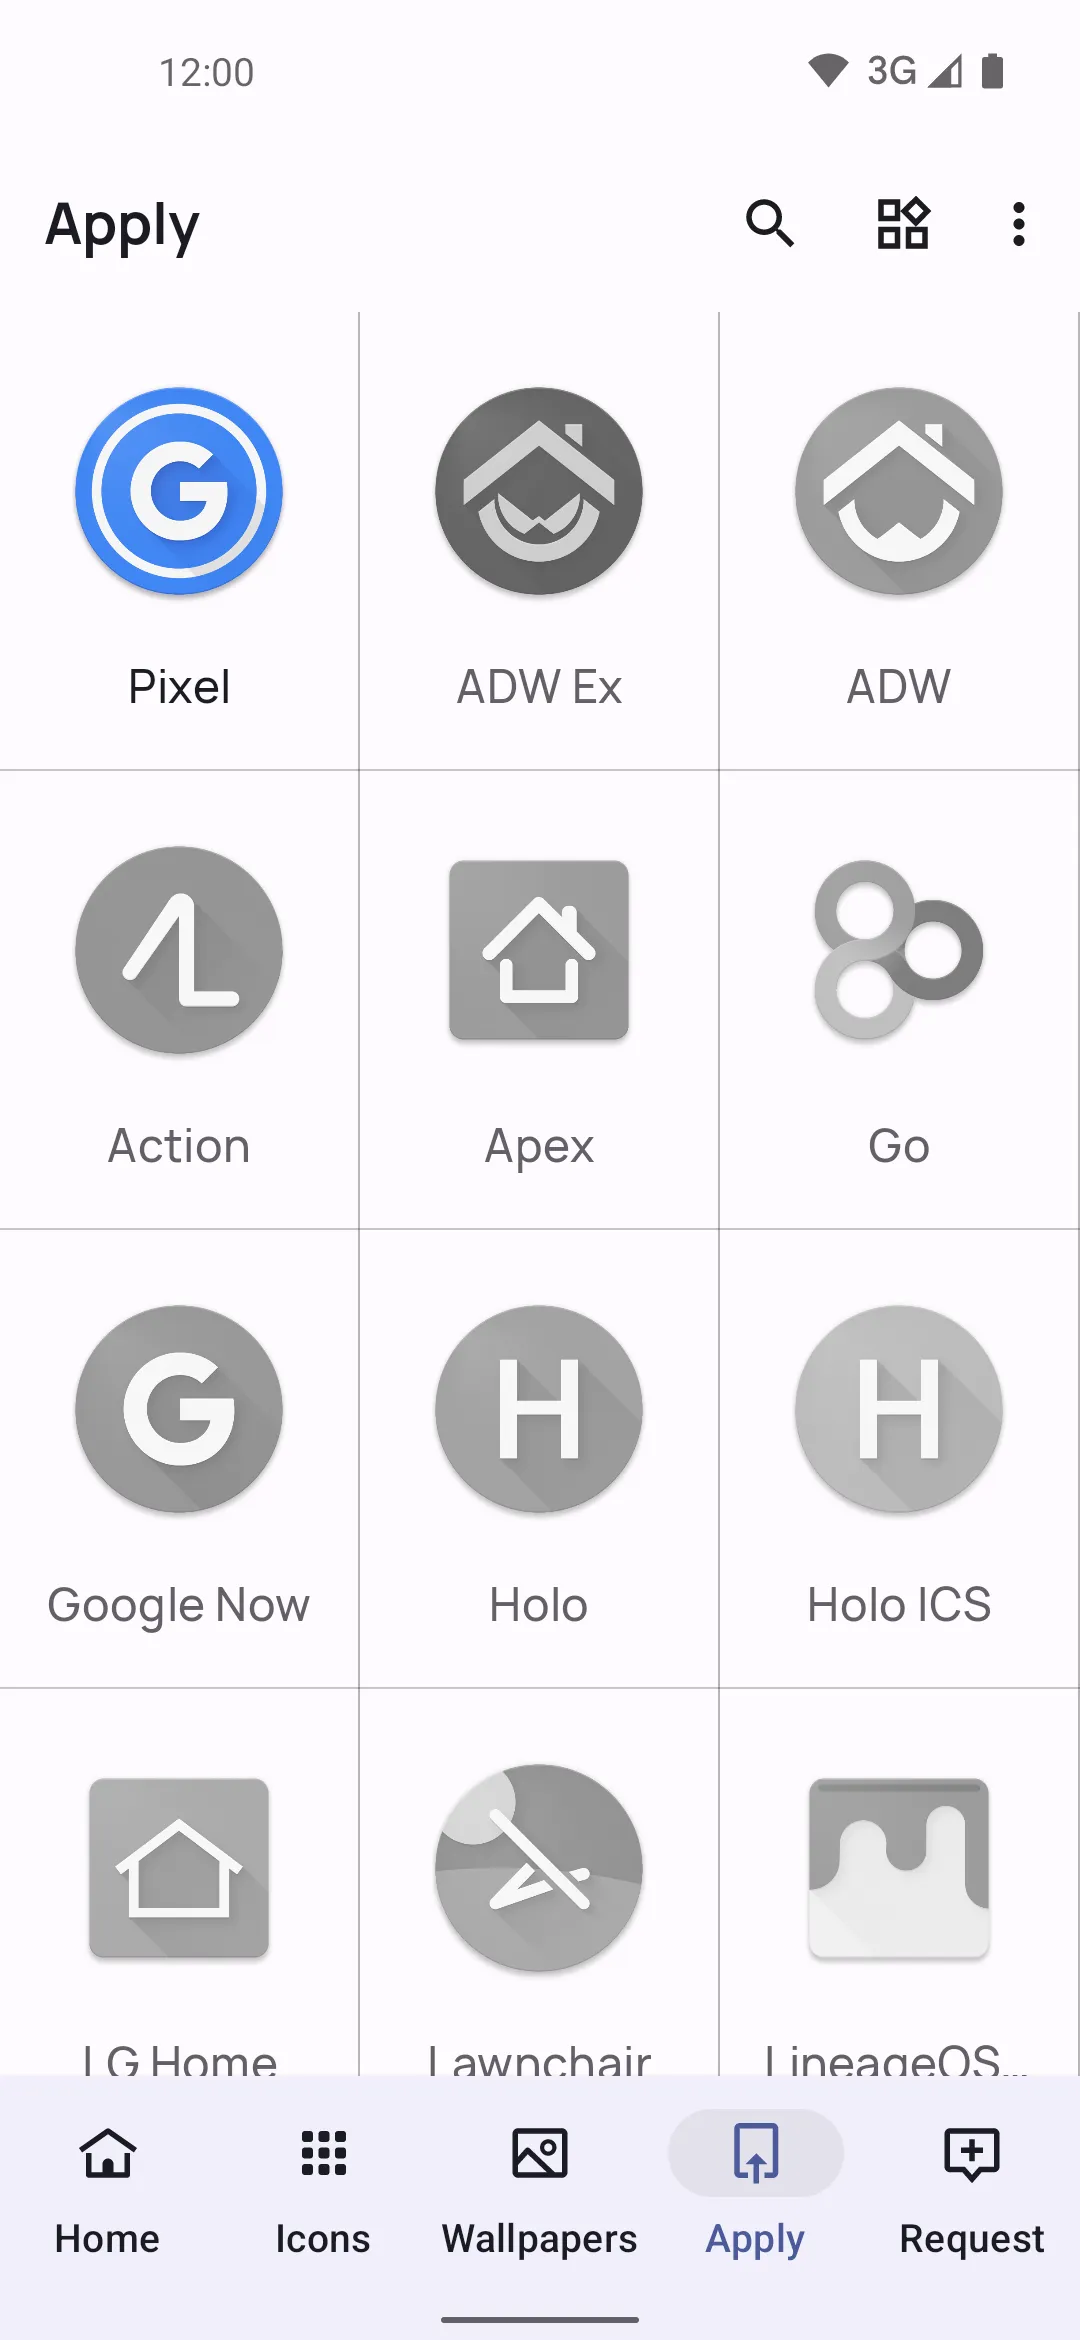
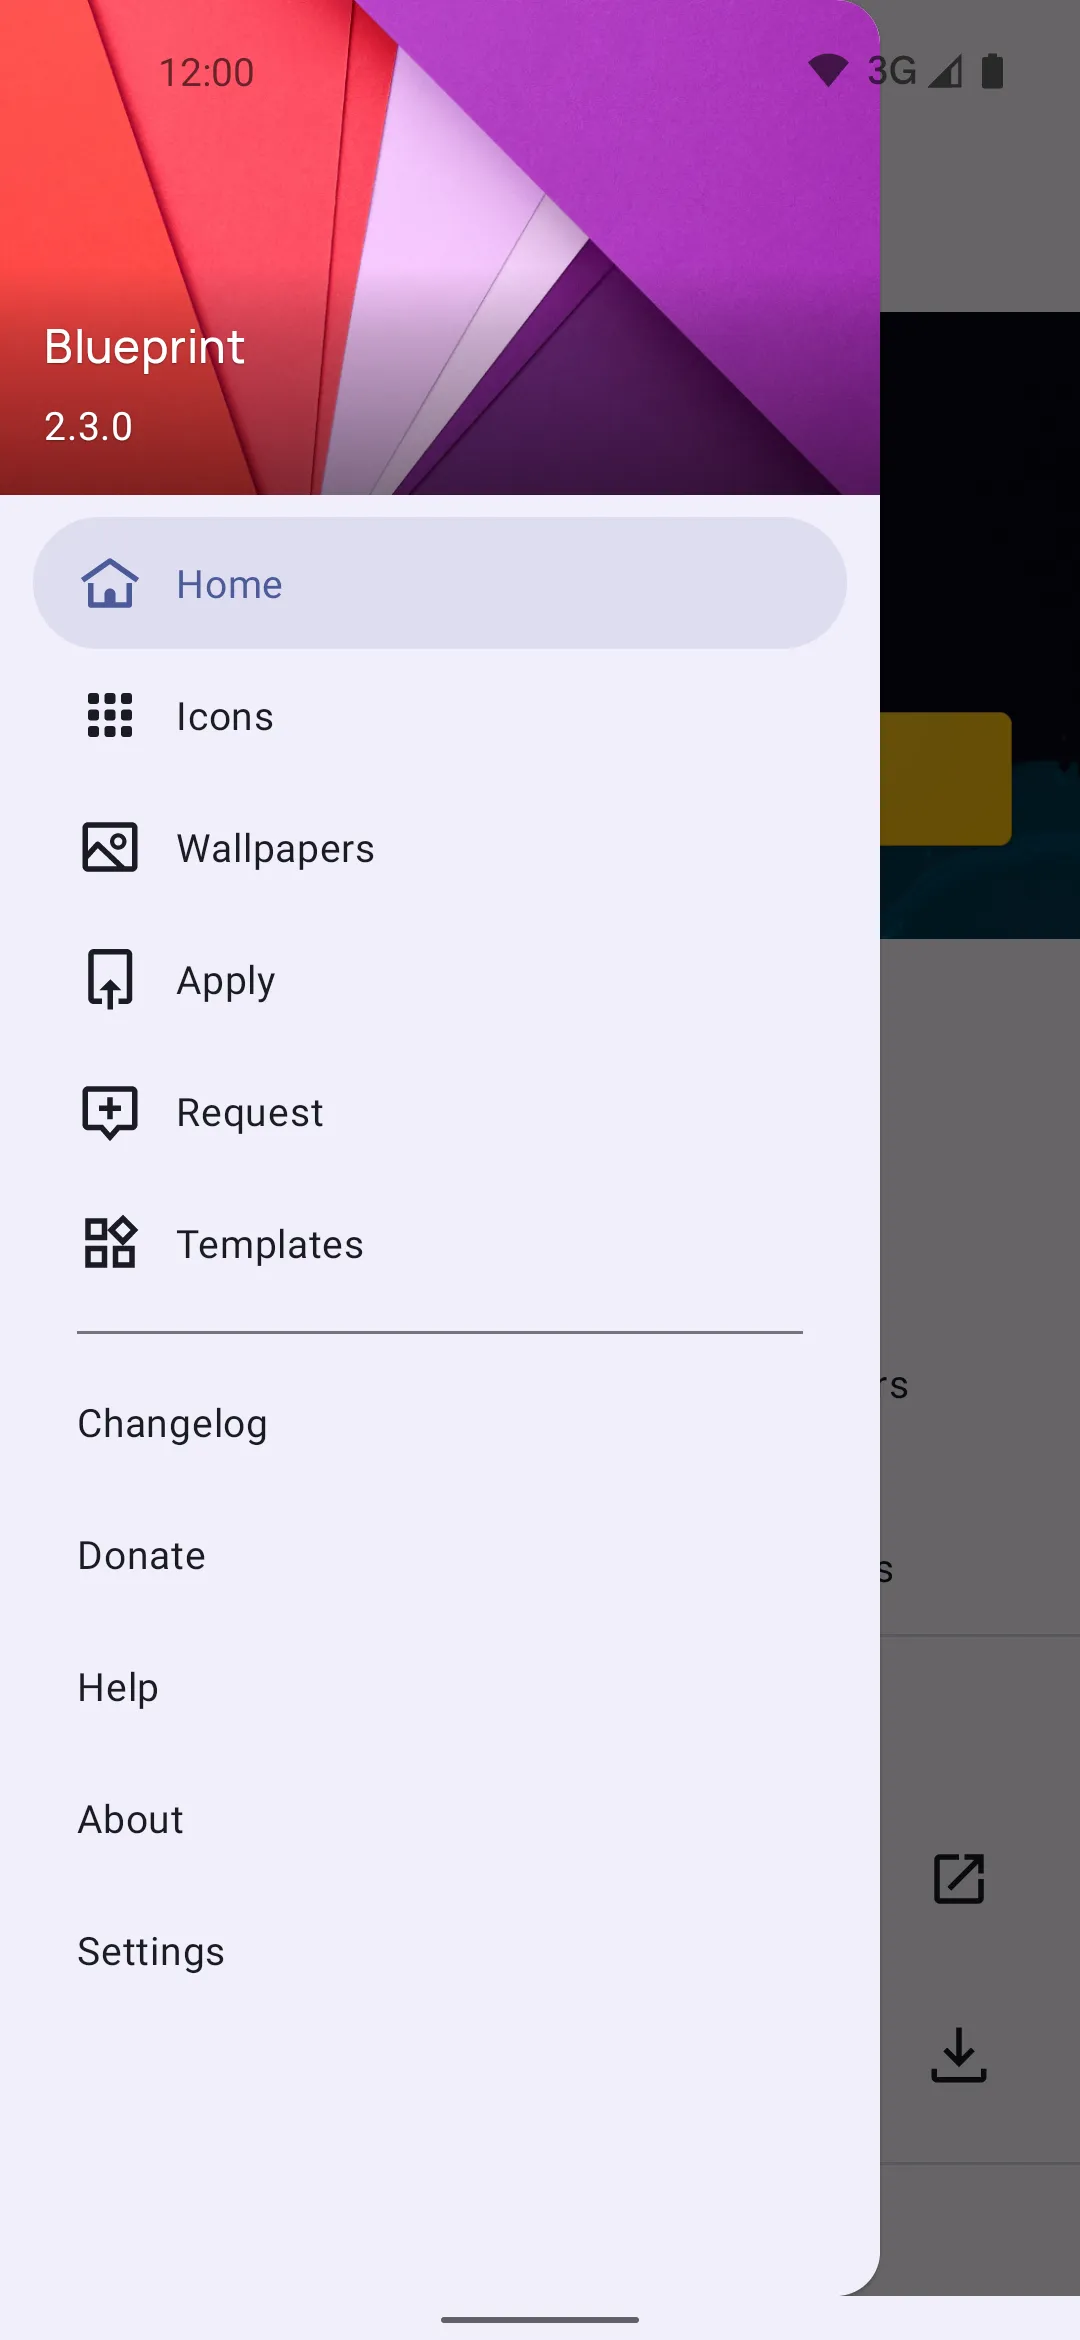
- Users apply your icons from the app, in more than 20 launchers.
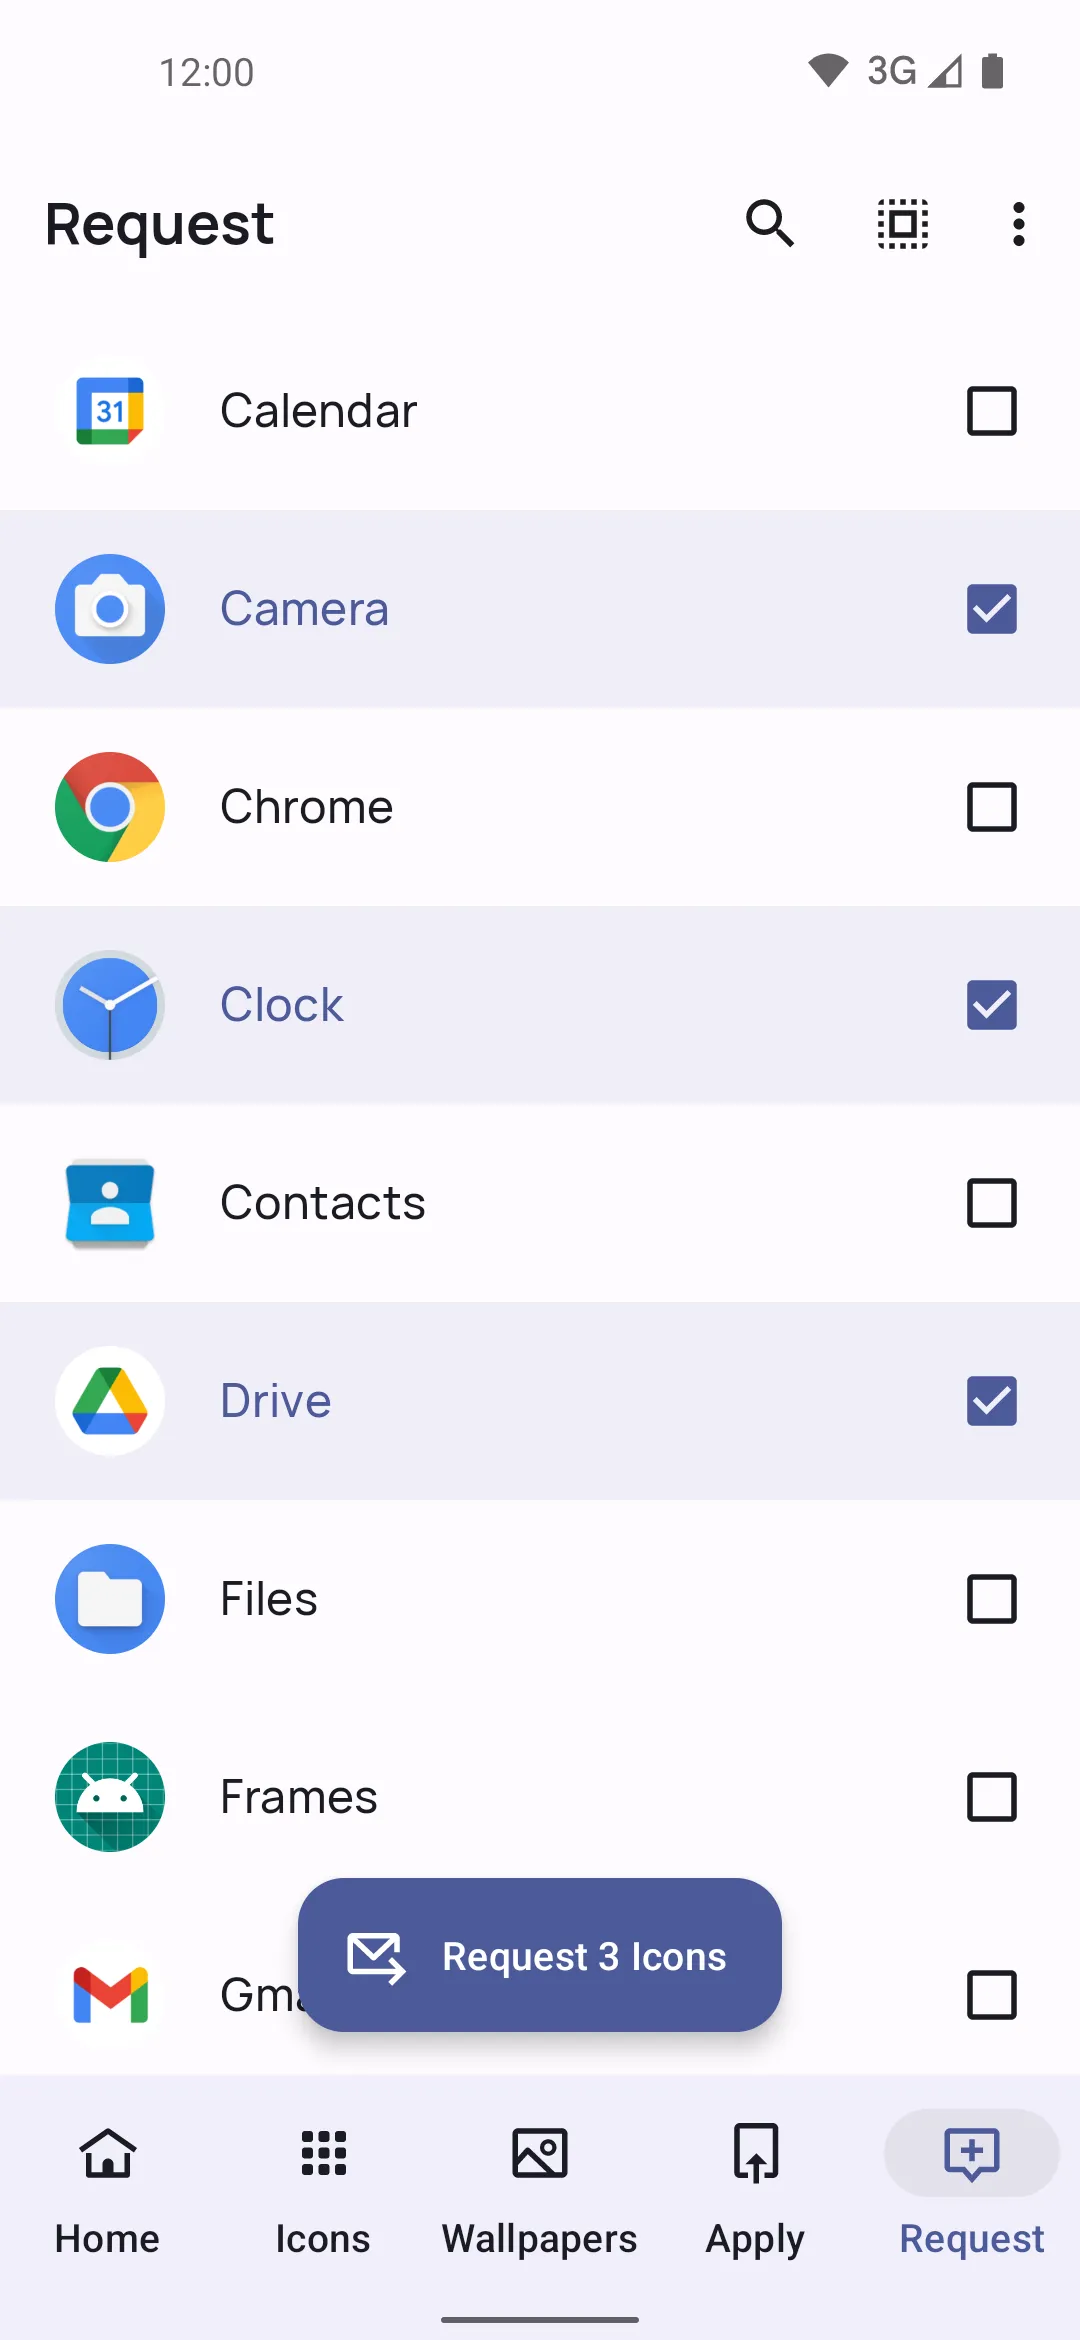
- An icon request tool, so users can ask for icons of the apps your pack doesn’t cover yet.
- Support for adaptive icons.
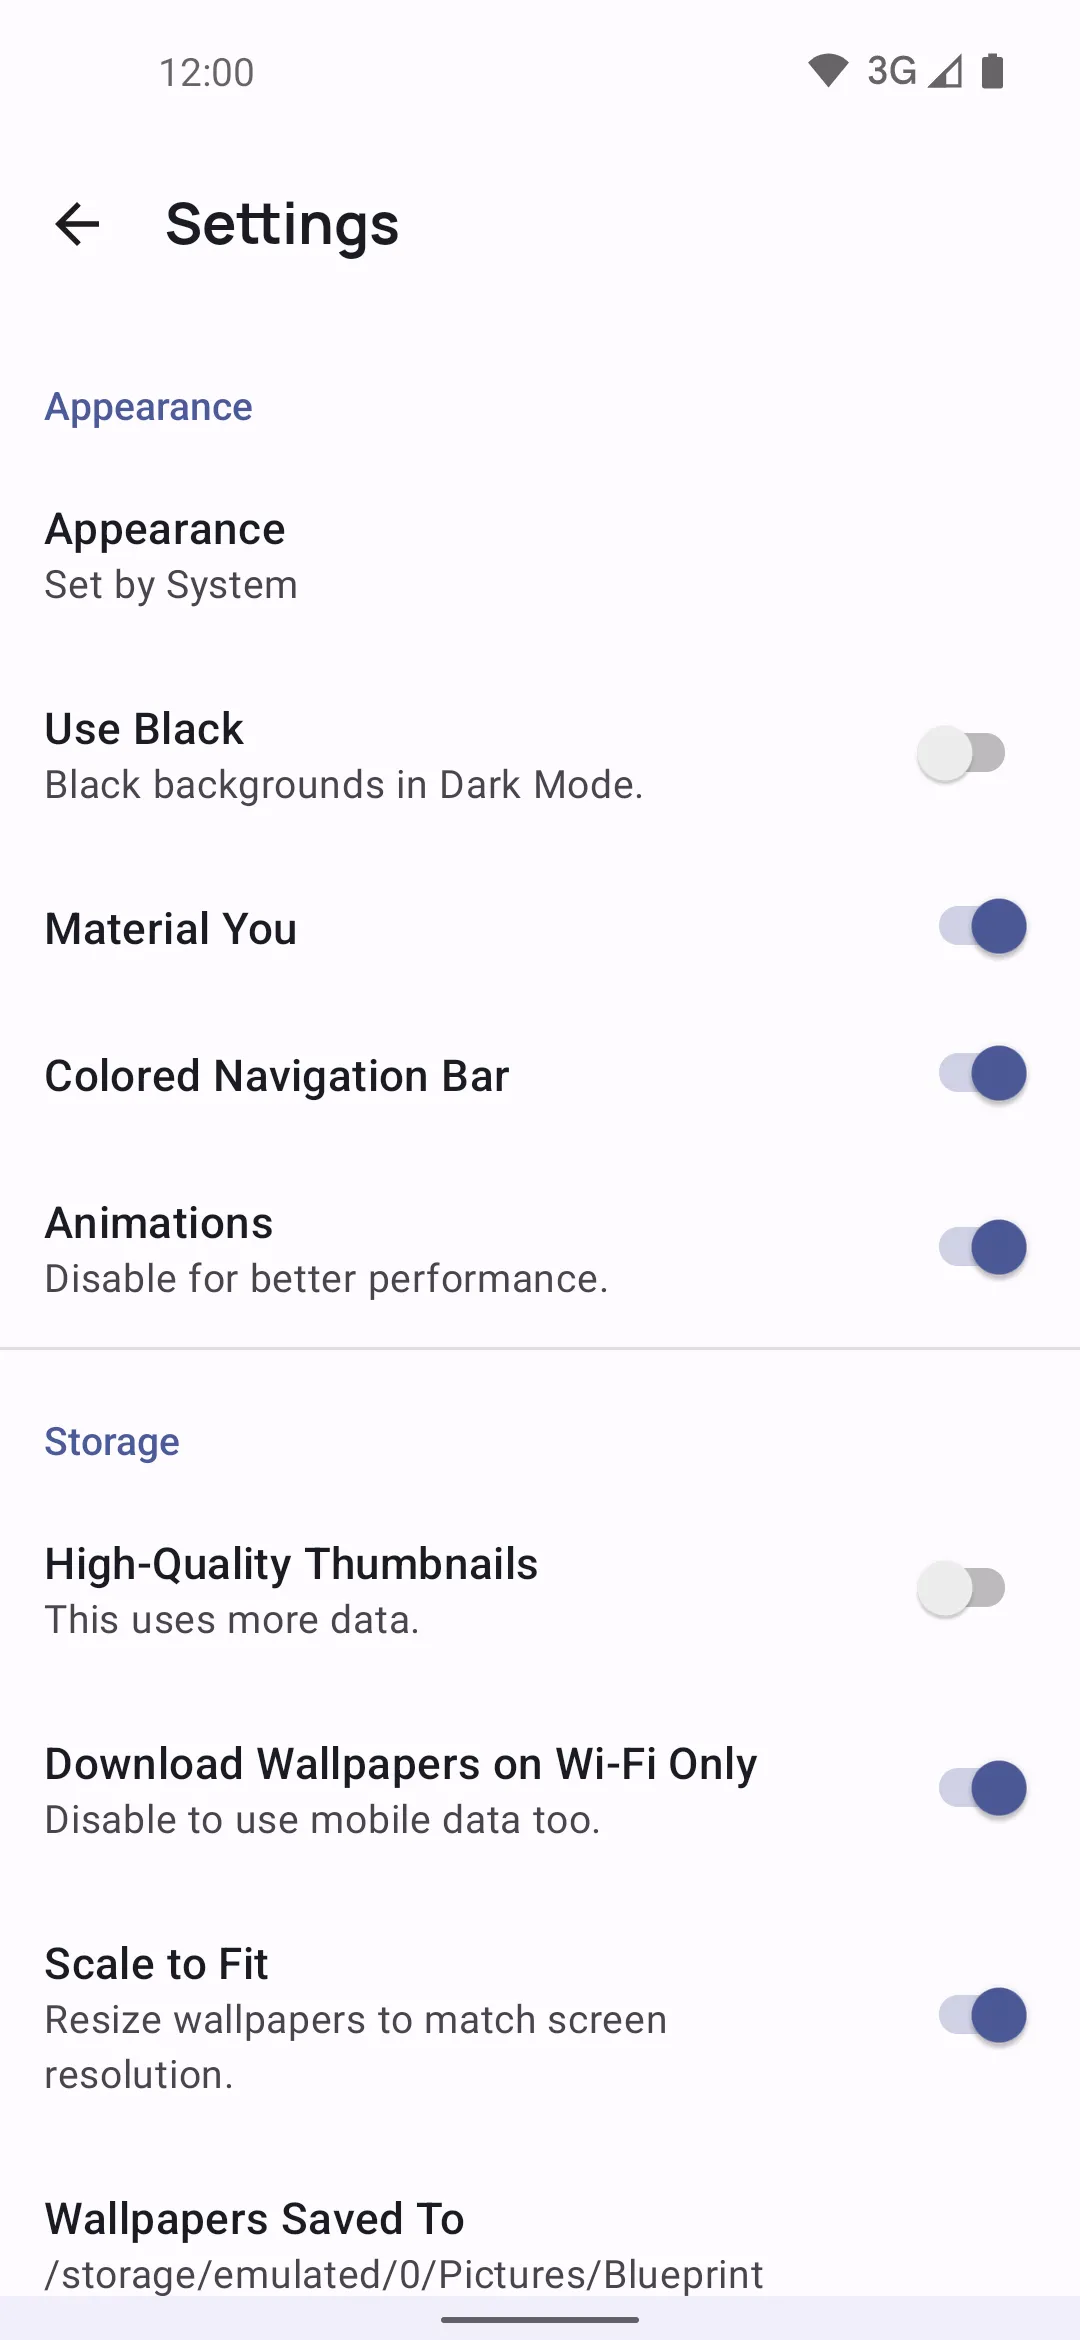
- Light, dark and AMOLED themes, plus Material You.
- A help section inside the app, with answers to common questions.
- Wallpapers and Kustom widgets, if you also want to ship them in the same app.
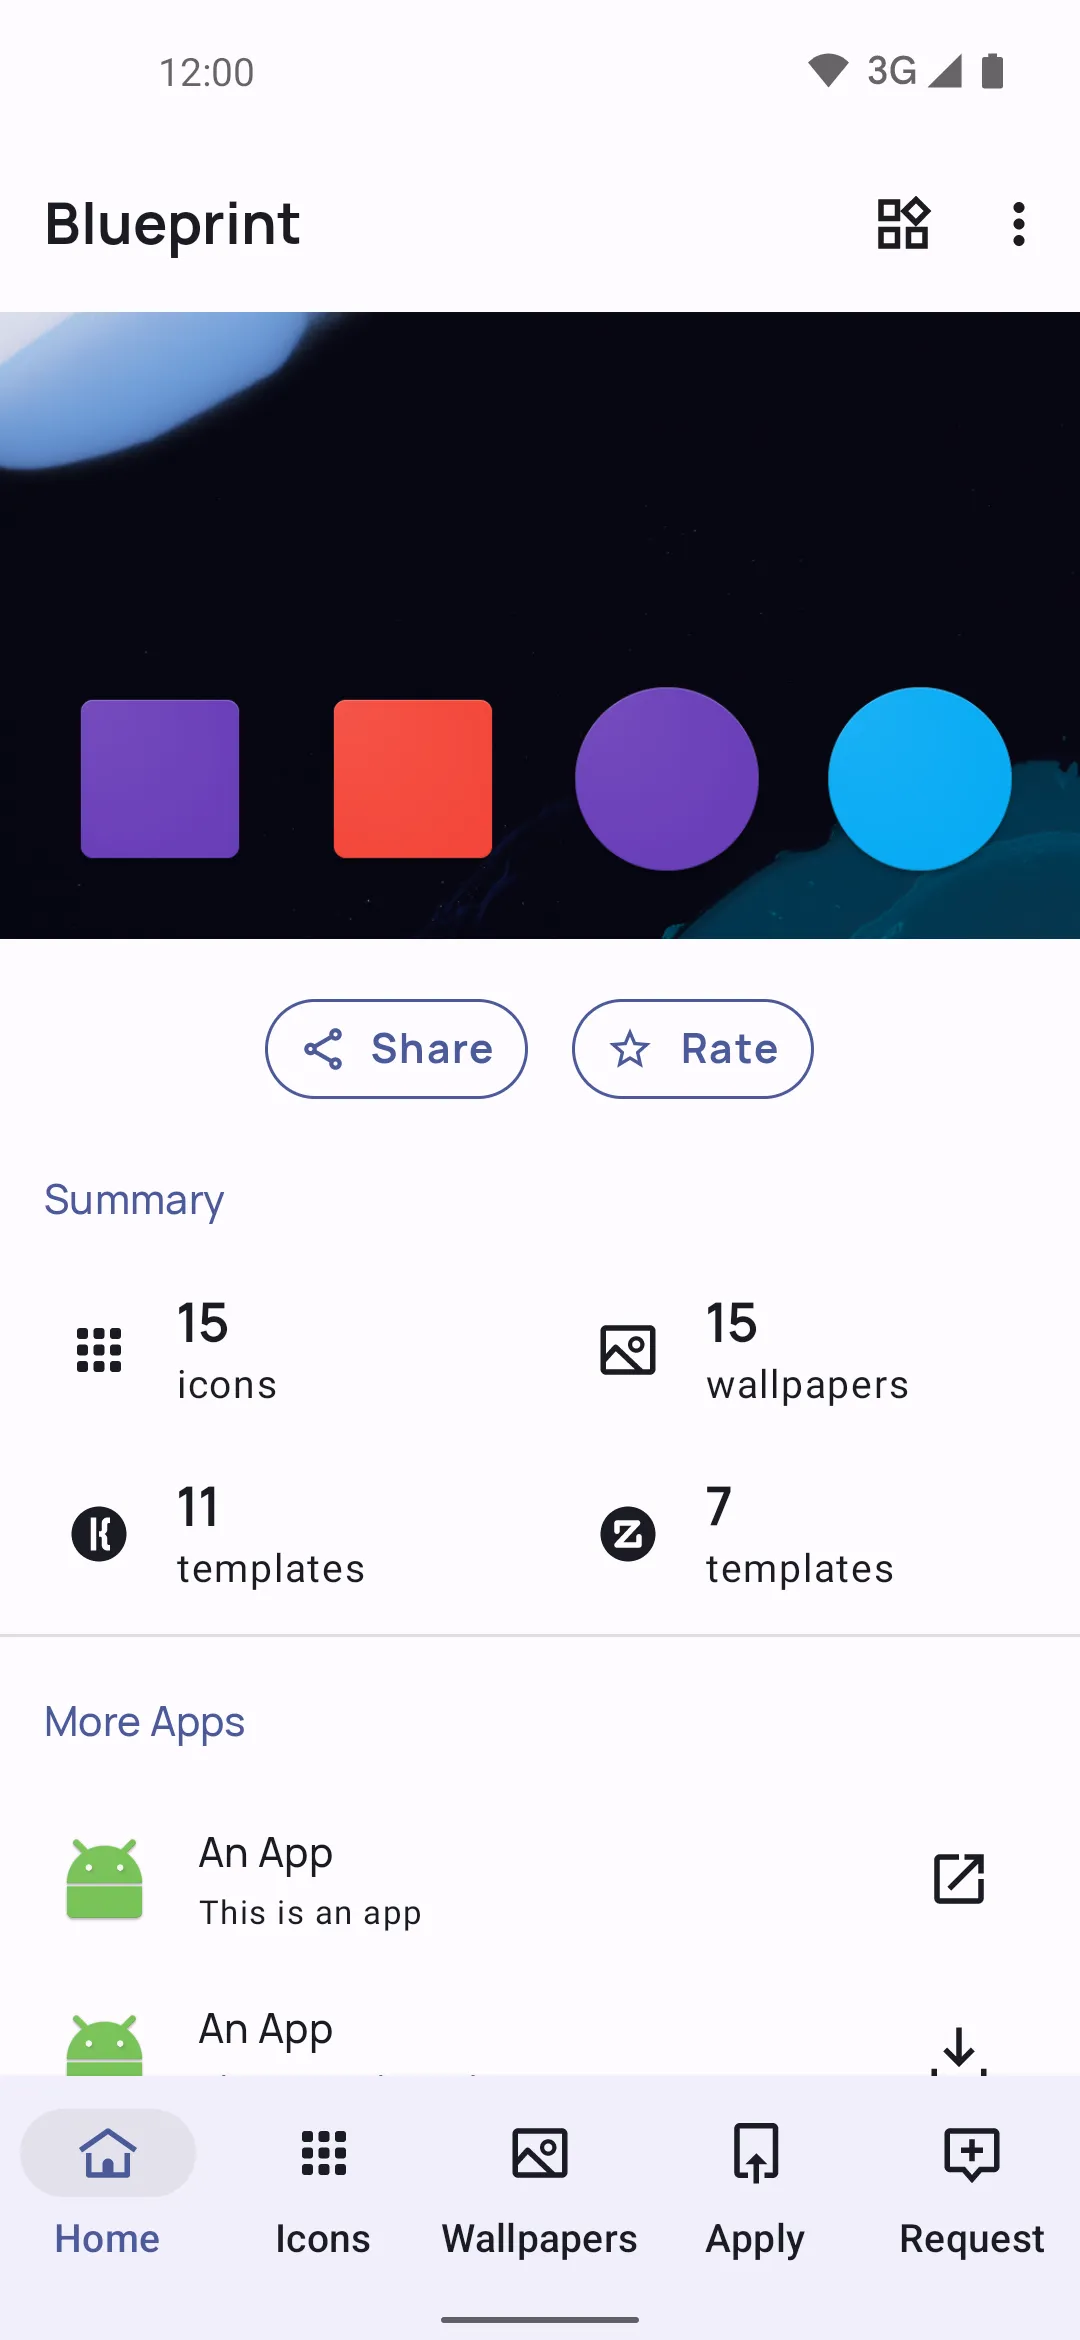
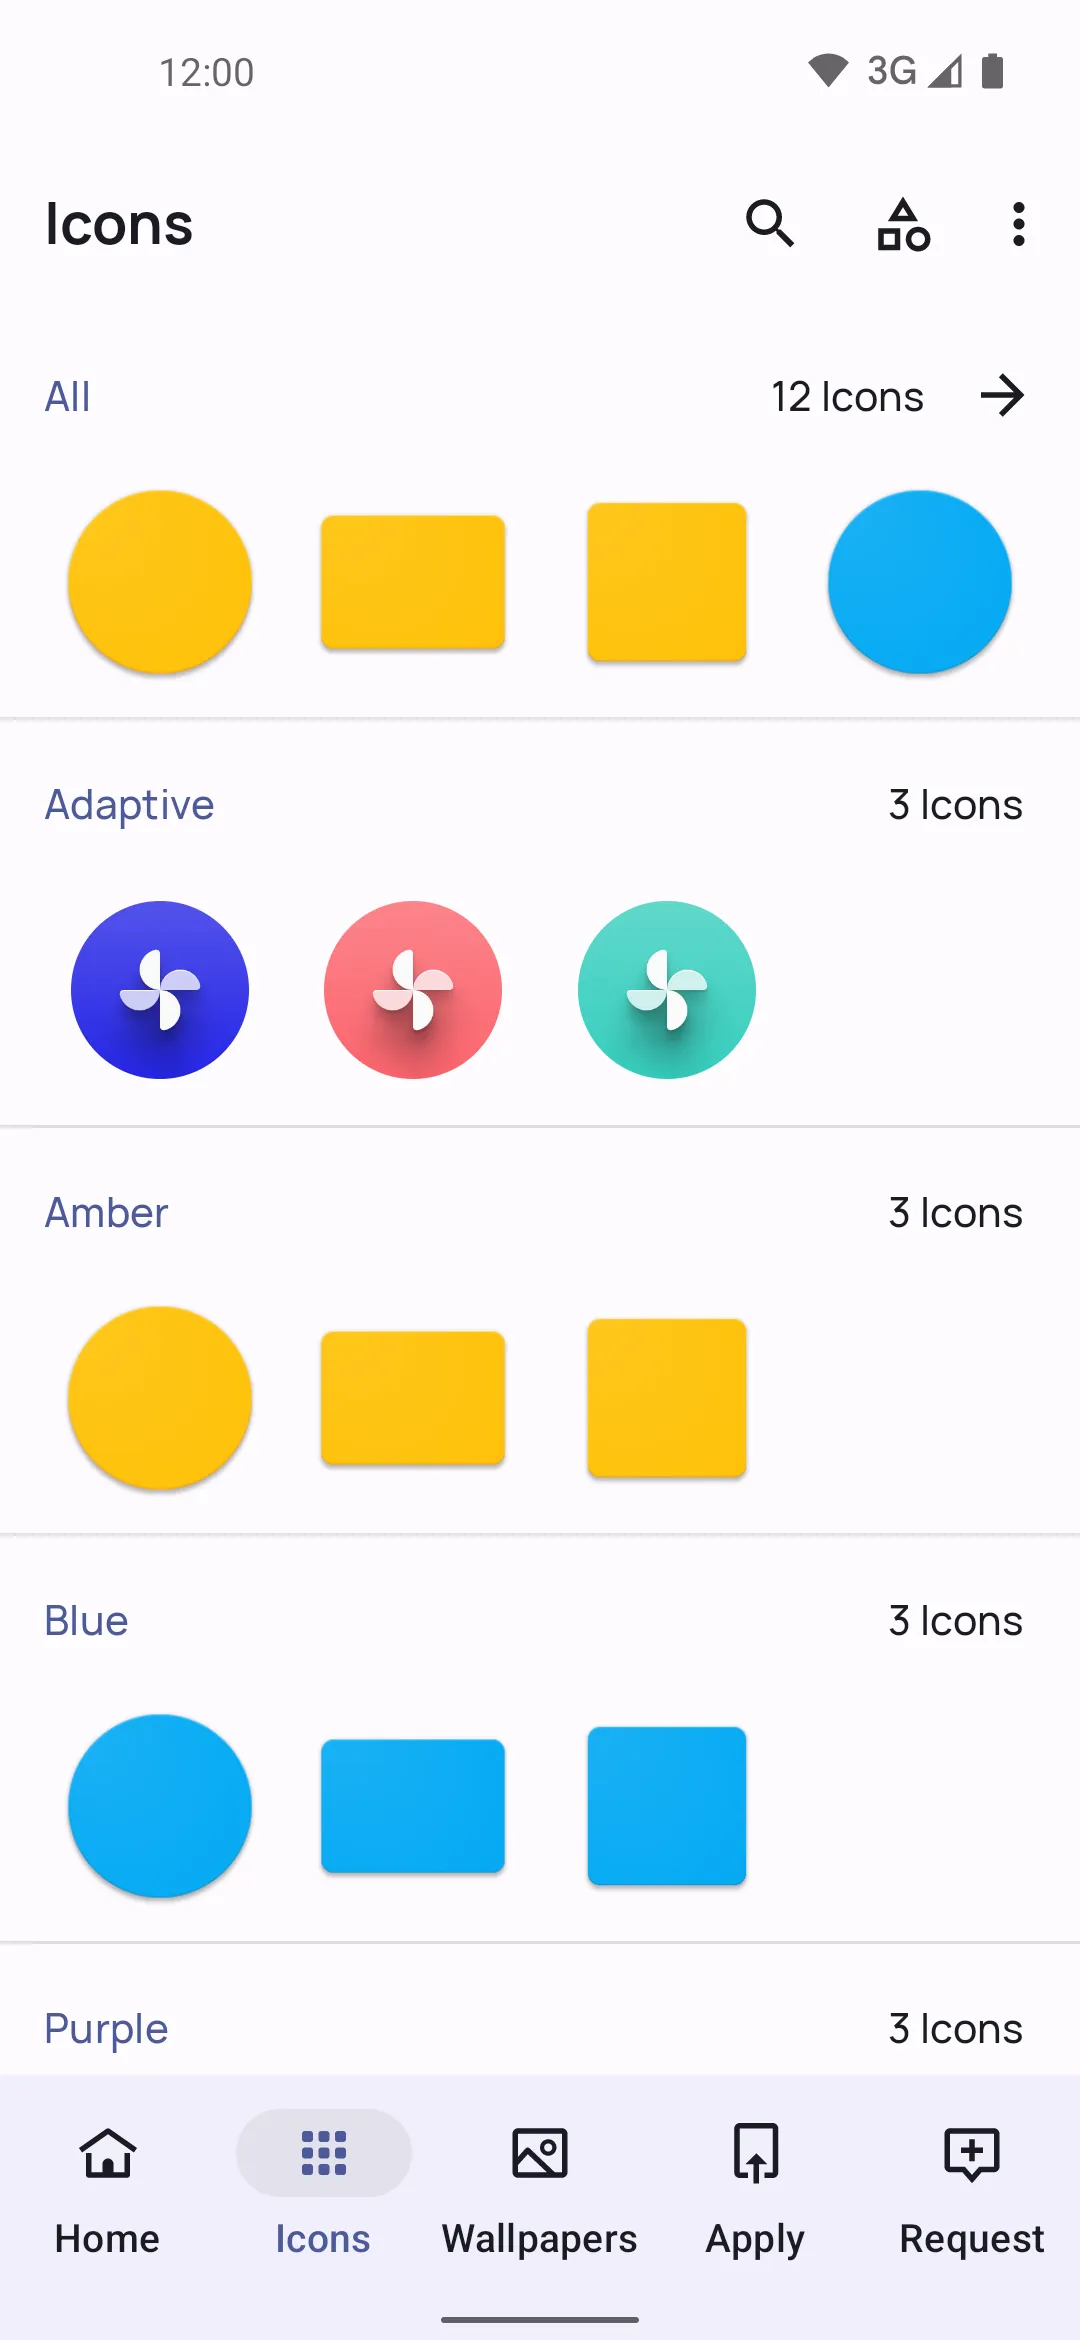
What it looks like
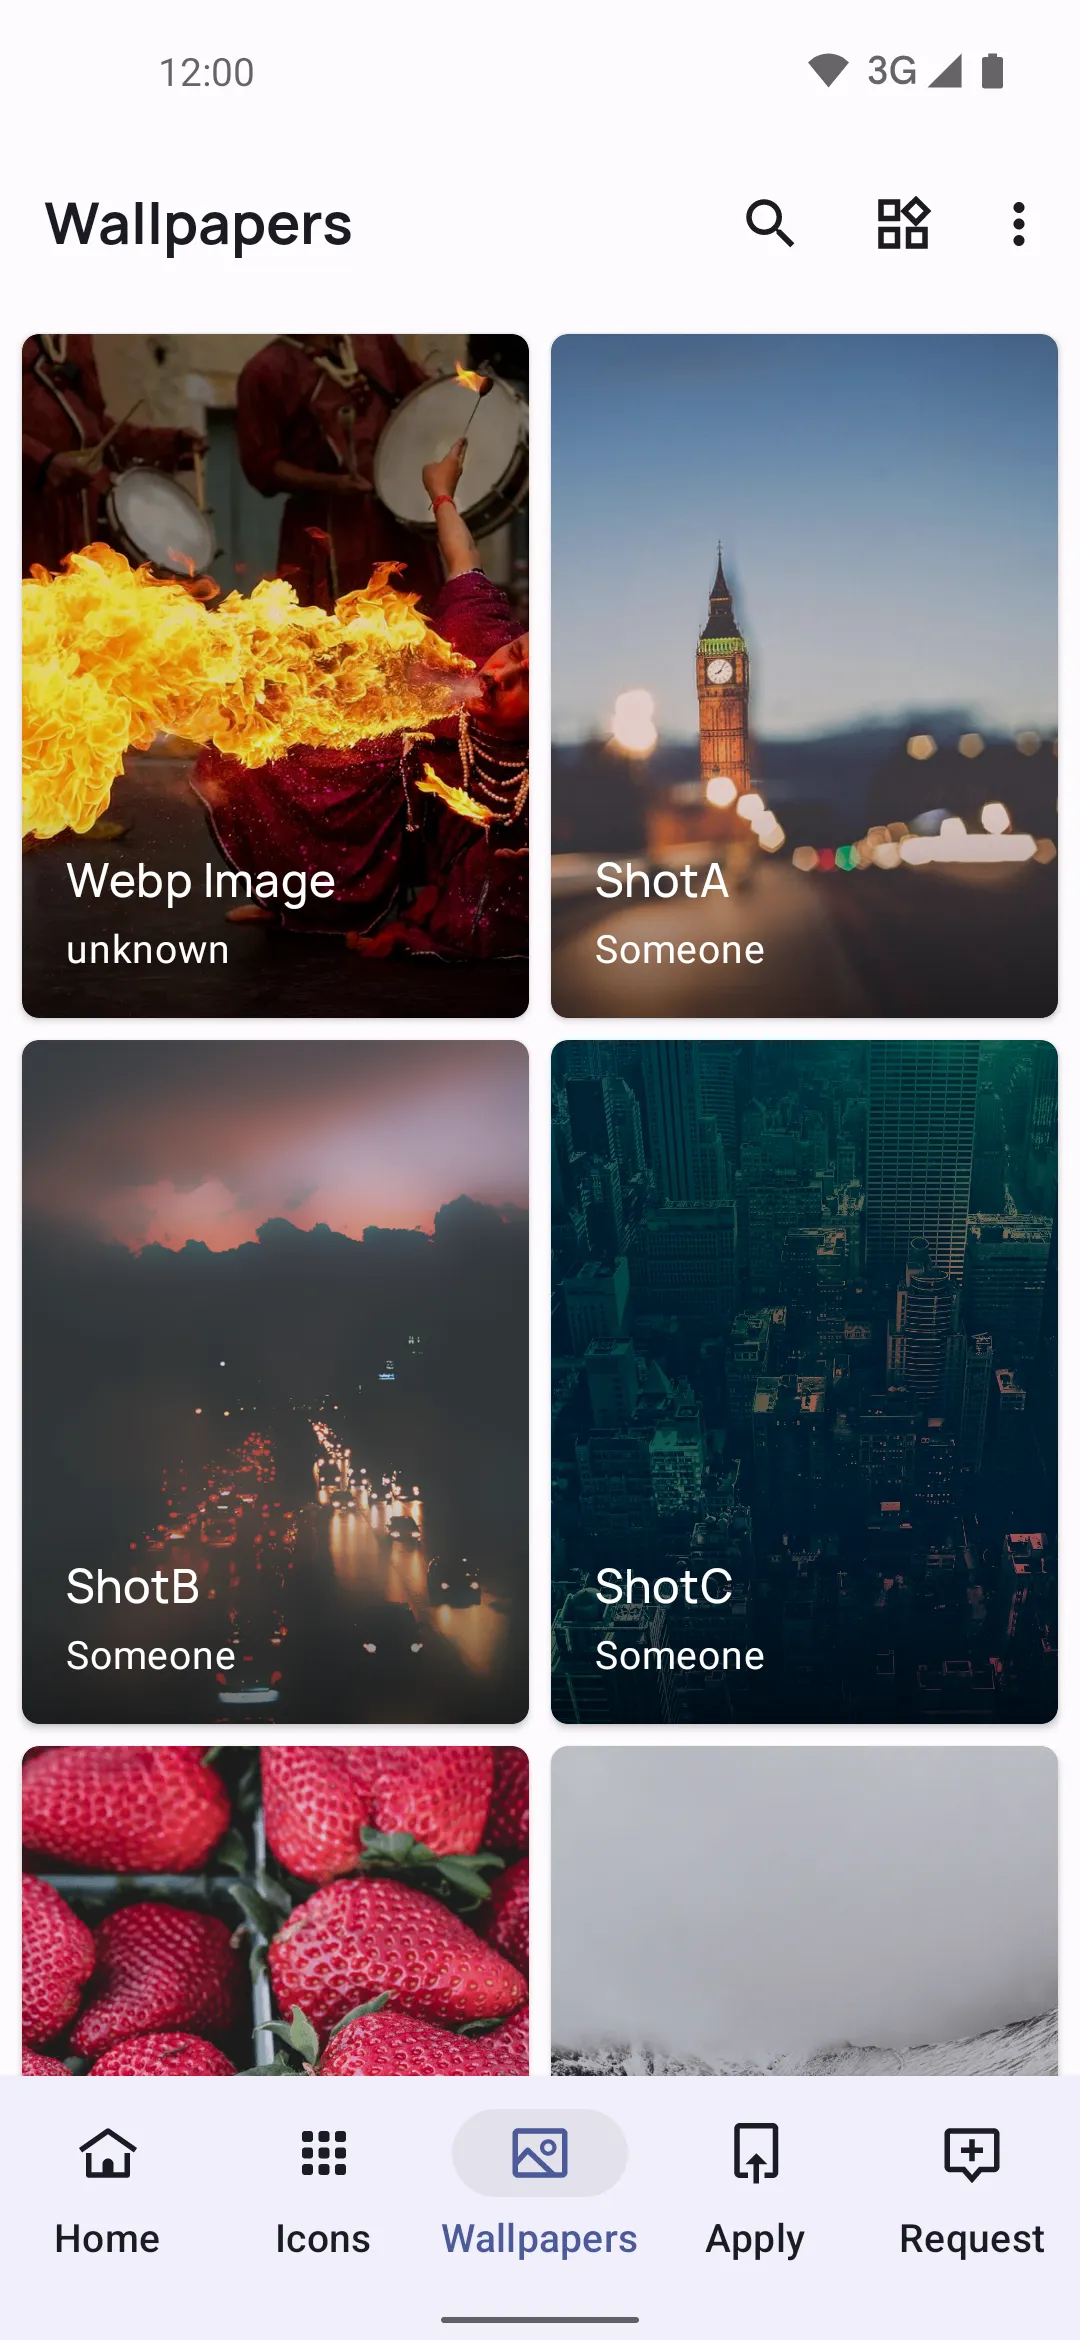
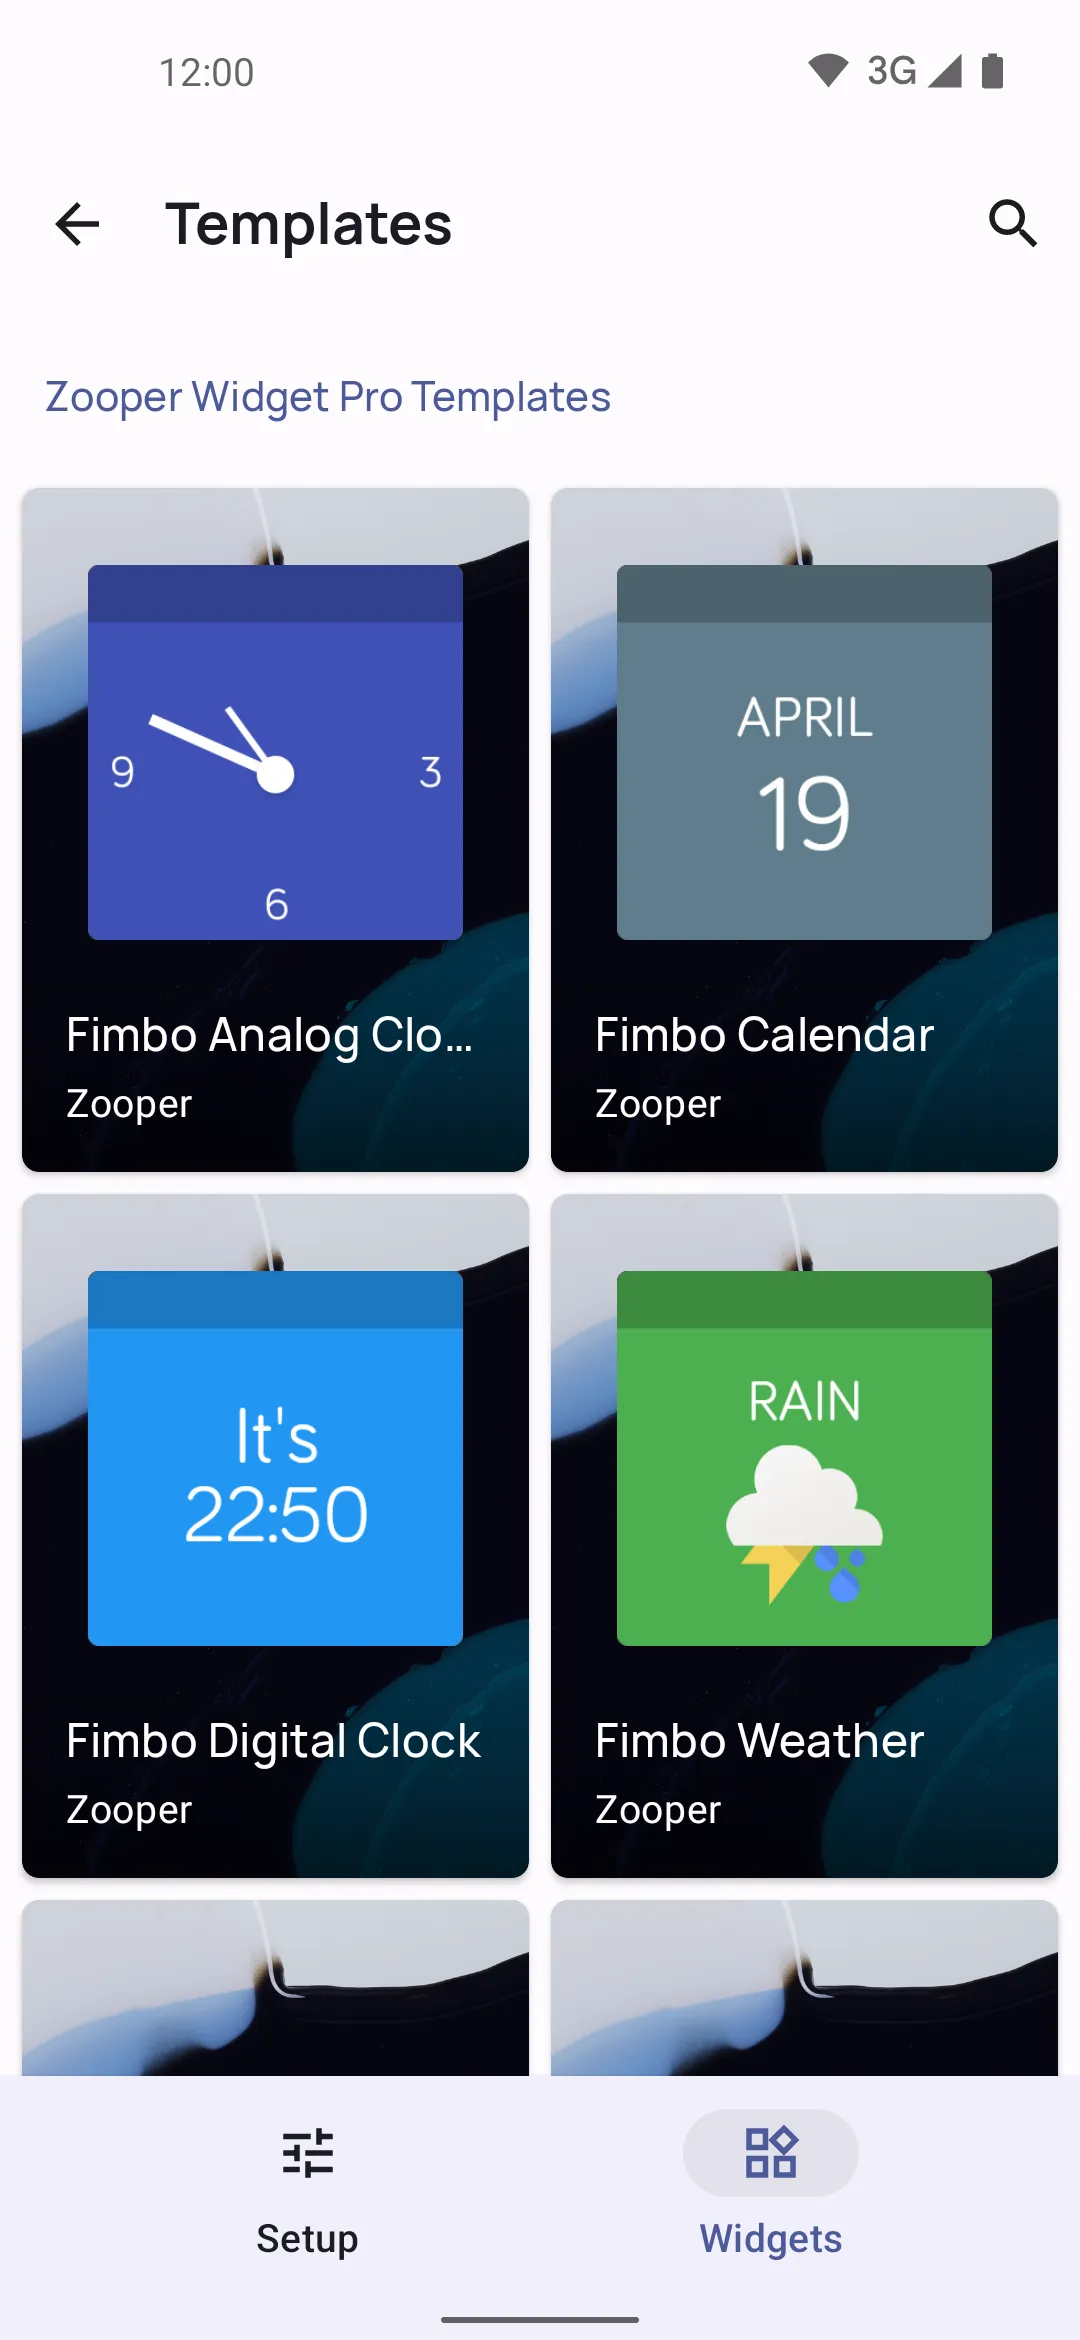
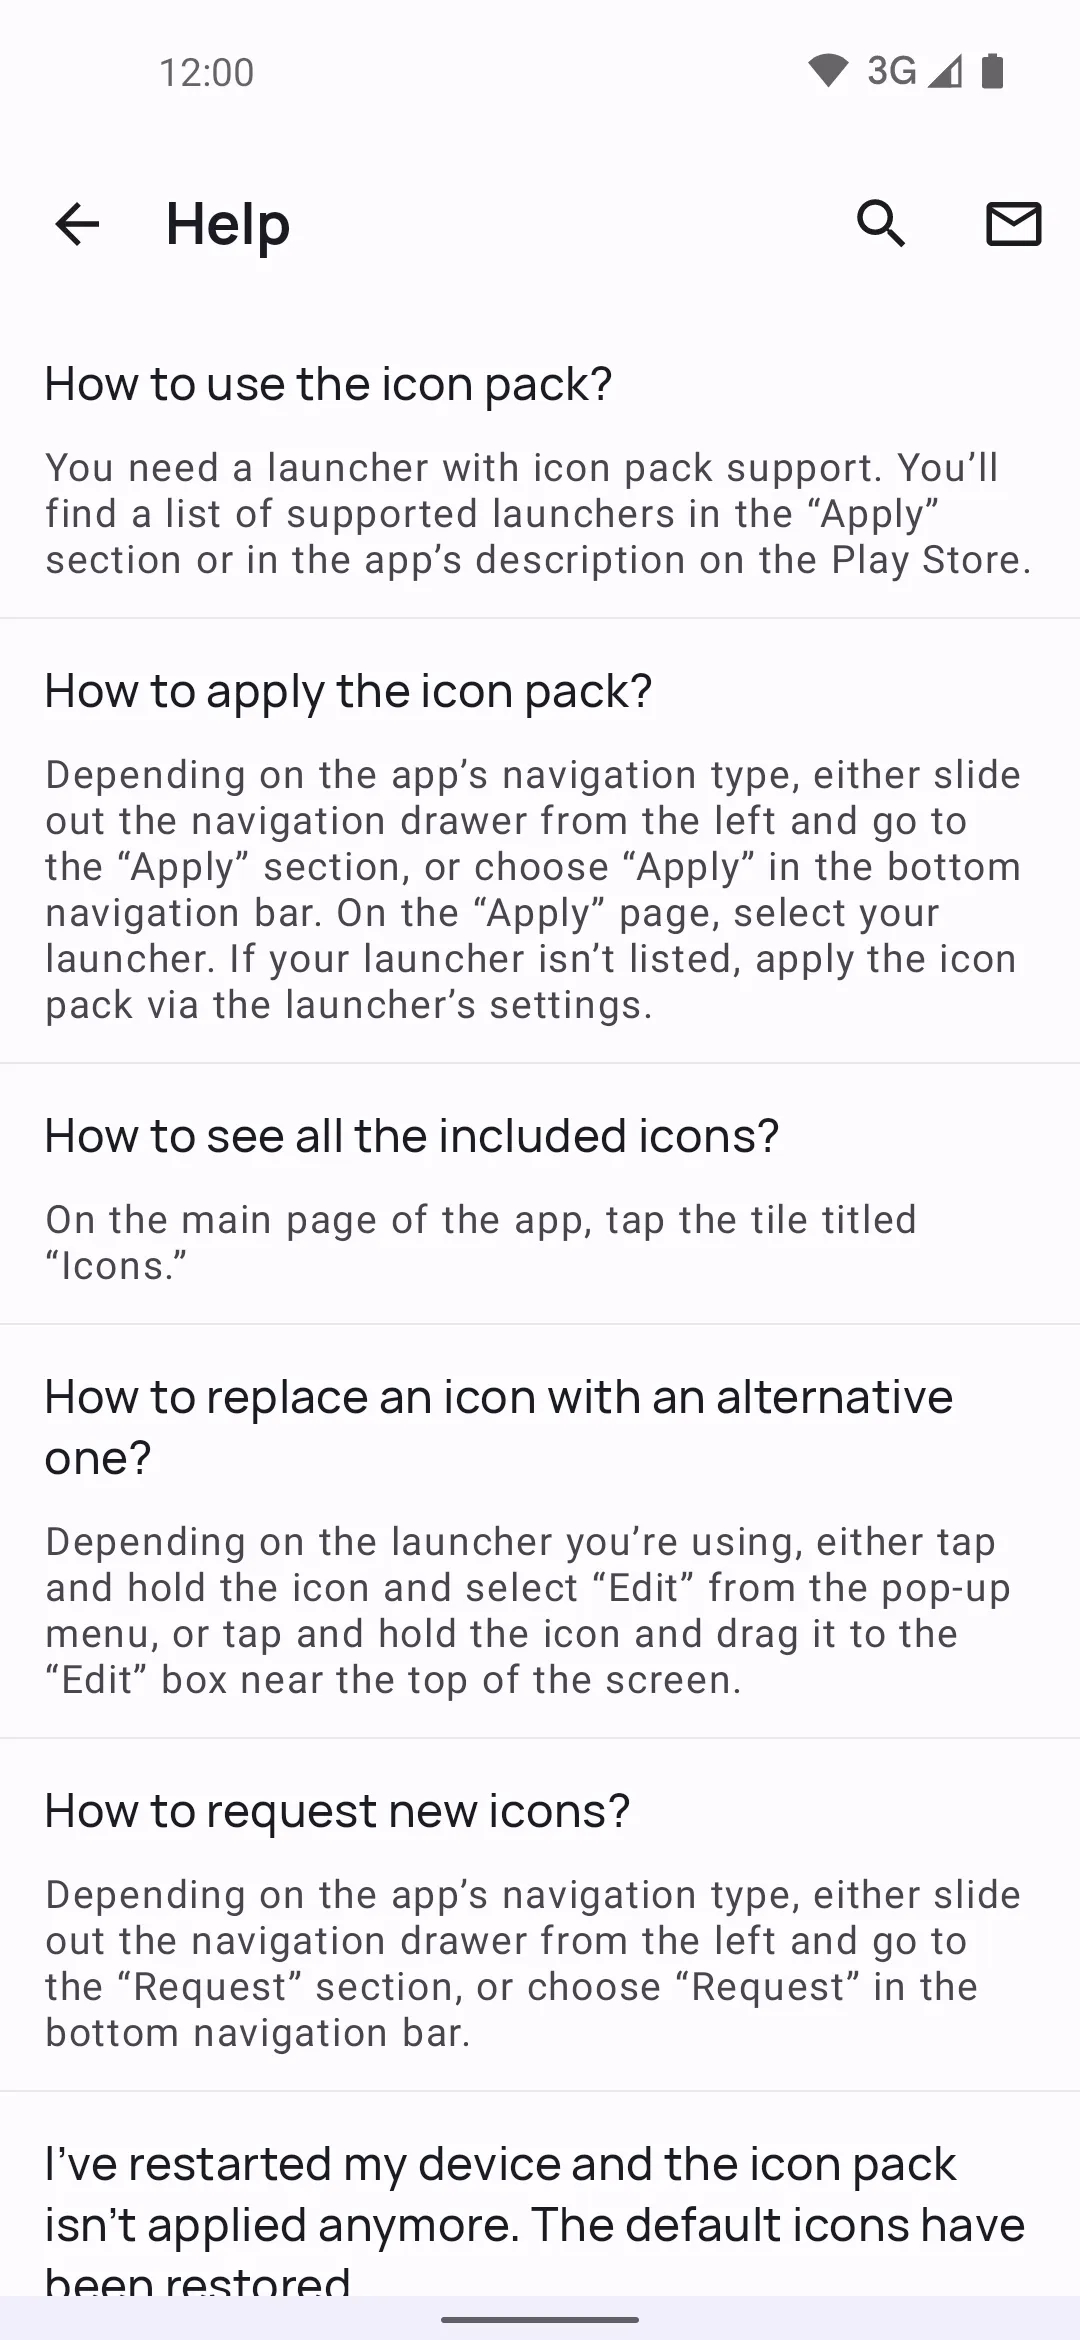
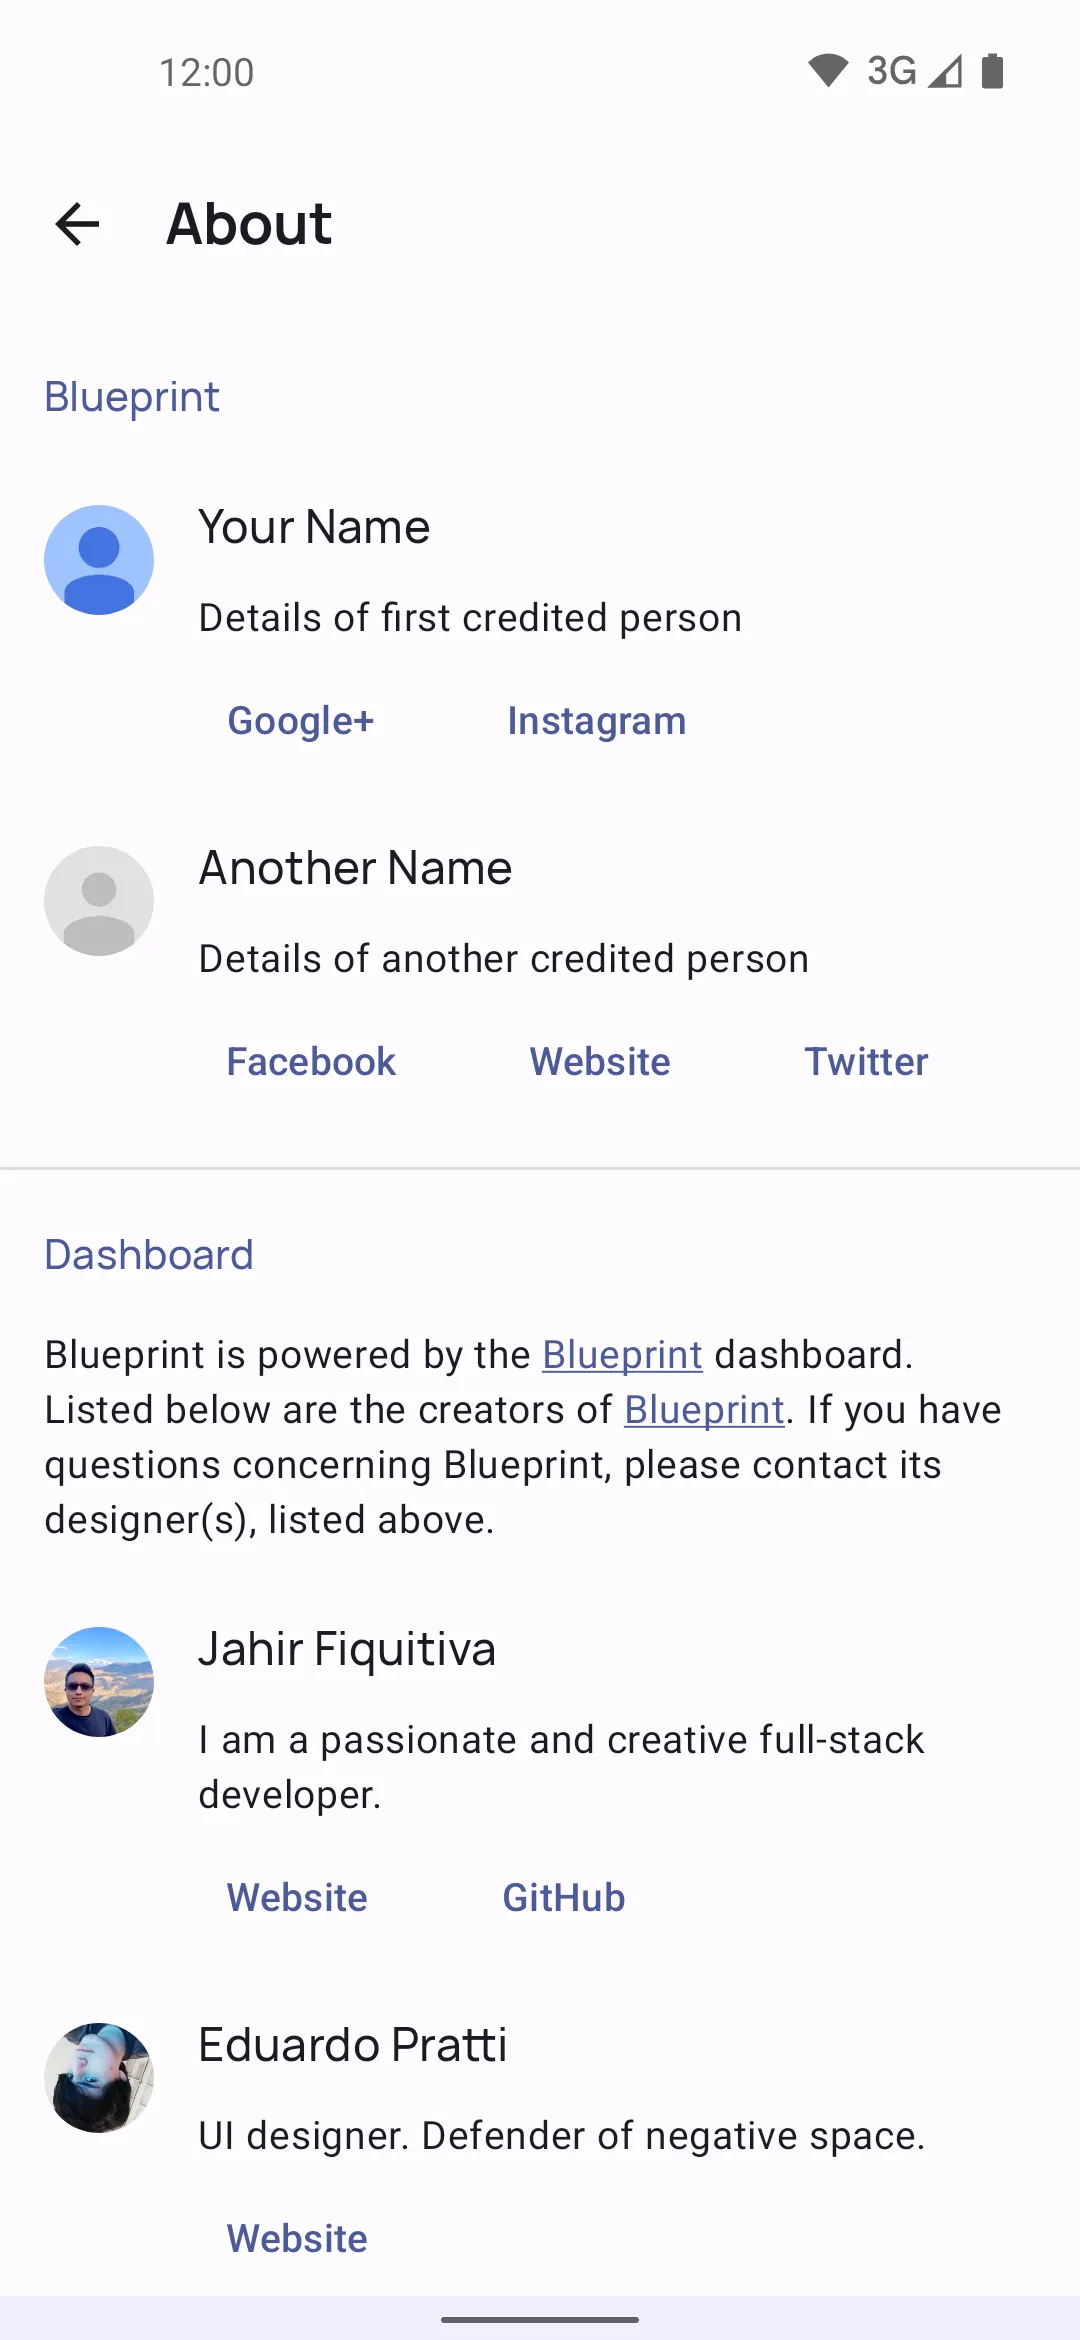
What you need
- Android Studio, the free app Google provides to build Android apps.
- An Android phone, or an emulator that Android Studio creates for you.
- Your icons, as PNG files.
- A Google Play developer account, but only when you’re ready to publish.
You don’t need to be an Android developer. Most of the setup is editing a few text files and copying your icons in.
Step 1: Download and run the sample
Download the Blueprint sample project, open it in Android Studio and run it on your phone. If the sample opens before you change anything, your setup works. Get Started walks you through it.
Step 2: Set your package name
The package name is your app’s unique ID on Google Play, like com.yourname.iconpack. Change it before anything else, because the other steps assume it’s done: Set Package Name.
Step 3: Add your icons
Your icons go in the drawable-nodpi folder, and a few files tell each launcher which icon belongs to which app. The sample already has every one of those files with example data, so you only replace the examples with your own: Add Icons.
Step 4: Configure your app
Your app’s name, colors, icon requests and every other setting live in XML files. Instead of editing them by hand, open the Blueprint setup app, change what you need and download the files ready to copy into your project. Every other option keeps its default, so you can come back and change anything later.
Step 5: Publish on Google Play
Build a release version of your app in Android Studio and upload it to the Google Play Console. Google’s Publish your app guide explains both.
Once it’s out, users can start requesting icons, and every update you publish makes your pack grow.
Need help?
Please ask in the Discord server. The Blueprint wiki has a page for every setting.